

A baby’s fingertip gives you a pretty small canvas to work with. When learning how to take a baby fingerprint, aim for a clear patch of fine lines instead of a perfectly shaped print. Small movements can change the impression, so a partial print with good detail may be more useful than a complete one.
This Mighty Dainty guide covers the parts that make taking a baby’s fingerprint different, so you can capture a clear print to use for a fingerprint necklace. You’ll learn when to take the print, how to work with a small fingertip, and how to tell when you have a usable result.
What You’ll Need to Take a Baby Fingerprint
Before you get into how to take a baby fingerprint, gather the supplies for your chosen method and set them within reach. Once your baby is settled, you’ll want to make the print while keeping the process short.
- For an ink print: Have a baby-safe, washable ink pad and plain white paper ready. Follow the ink pad’s directions, and leave enough blank space for several separate impressions.
- For a graphite transfer: You’ll need a graphite pencil, clear tape, and white paper. Prepare a few pieces of tape beforehand so you can move from one attempt to the next easily.
- For cleanup: Keep a soft tissue or cloth nearby so you can clean and dry the fingertip when you finish.
- For later: Have your phone available to photograph the impression you choose. Save this part until after you’ve finished working with your baby’s hand.
Timing matters here. Choose a moment when your baby is settled and their hand feels relaxed, and have the paper ready before you start.
How to Take a Baby Fingerprint Step by Step

Learning how to take a baby fingerprint starts with working around movement rather than trying to keep a tiny hand in place for long. Keep the contact brief and make a few attempts while your baby is comfortable.
Method 1: Using an Ink Pad
- Start with a clean, dry fingertip.
- Apply a thin layer of ink to the area you want to capture.
- Have a clean section of white paper ready before bringing the fingertip to it.
- Gently place the fingertip on the paper and use light, even pressure.
- Lift the finger straight up after contact.
- Move to another clean area of the page for the next attempt.
- Make a few impressions while your baby remains settled.
- Let the page dry before handling the prints.
A baby may move midway through an attempt. Simply move to a fresh area of paper and try again once their hand settles.
Method 2: Using Pencil and Clear Tape
- Shade a patch of paper heavily with a graphite pencil.
- Lightly press the fingertip onto the shaded area to pick up the graphite.
- Take one of your prepared pieces of clear tape and gently place the sticky side against the fingertip.
- Lift the tape carefully.
- Place it flat on clean white paper.
- Use a fresh piece of tape for another attempt.
- Stop once you have a few transfers to compare.
With either method, focus on capturing visible fingerprint detail from the small area available. The shape of the fingertip matters less than the lines within the impression.
How to Choose a Print for Baby Fingerprint Jewelry
When learning how to take a baby fingerprint, it helps to make several impressions while your baby is settled. Once you have a few to choose from, compare them side by side and look for the one where the fingerprint pattern comes through most clearly.
- Start with visible detail: Look for an area where you can distinguish the individual lines. On a baby’s fingertip, that usable area may be quite small.
- Compare the same area: Look at a similar part of each impression so differences in line definition are easier to see.
- Check for movement: Stretched or dragged lines usually mean the finger shifted during contact. A cleaner impression will preserve the shape of the lines.
- Look beyond the outline: A complete fingertip shape is less important than clear detail within the print.
- Keep a second option: Save another clear impression if you have one. It gives you a backup when you create the digital image.
Keep the original sheet clean and flat after you finish. That way, you can return to the source if you need another photograph or scan.
How to Photograph or Scan a Baby Fingerprint
Once you know how to take a baby fingerprint, photographing it should be fairly straightforward. Because the usable area may be small, focus on preserving the detail that is already visible on the paper.
- Use even lighting: Place the paper in a bright area and keep shadows from falling across the fingerprint.
- Hold the camera straight: Keep your phone parallel to the paper so the impression retains its original proportions.
- Check the focus: Tap the fingerprint on your screen before taking the photo. Then zoom in and make sure the individual lines remain sharp.
- Keep the original image: Save the full-resolution photo before cropping or creating additional copies.
If you use a scanner, choose a setting that preserves fine detail and check the resulting image at full size. Compare either digital version with the paper original to make sure the visible lines have carried across clearly.
Common Problems When Taking a Baby Fingerprint
Still figuring out how to take a baby fingerprint that gives you enough to work with? With a baby, movement and the small size of the fingertip can affect the result as much as ink, graphite, or pressure.
- Your baby moves during contact: Make another brief attempt once their hand settles. Having a fresh section of paper ready helps you use the opportunity when it comes.
- Your baby curls their fingers: Wait for the hand to relax naturally, then make the transfer while the fingertip is easier to reach.
- Only a small section transfers: Adjust the fingertip position on the next attempt so a little more of the surface makes even contact.
- The print looks very dark: Use less ink or graphite next time. A heavy coating can fill the spaces between the lines.
- The print looks faint: Add a little more ink or graphite and make sure the fingertip makes even contact with the surface.
- The lines look dragged across the page: The fingertip likely moved during the transfer. Keep the next contact brief and lift the finger straight up.
Change one thing at a time between attempts. This makes it easier to see which adjustment gives you a clearer result.
Create a Newborn Fingerprint Keepsake to Wear

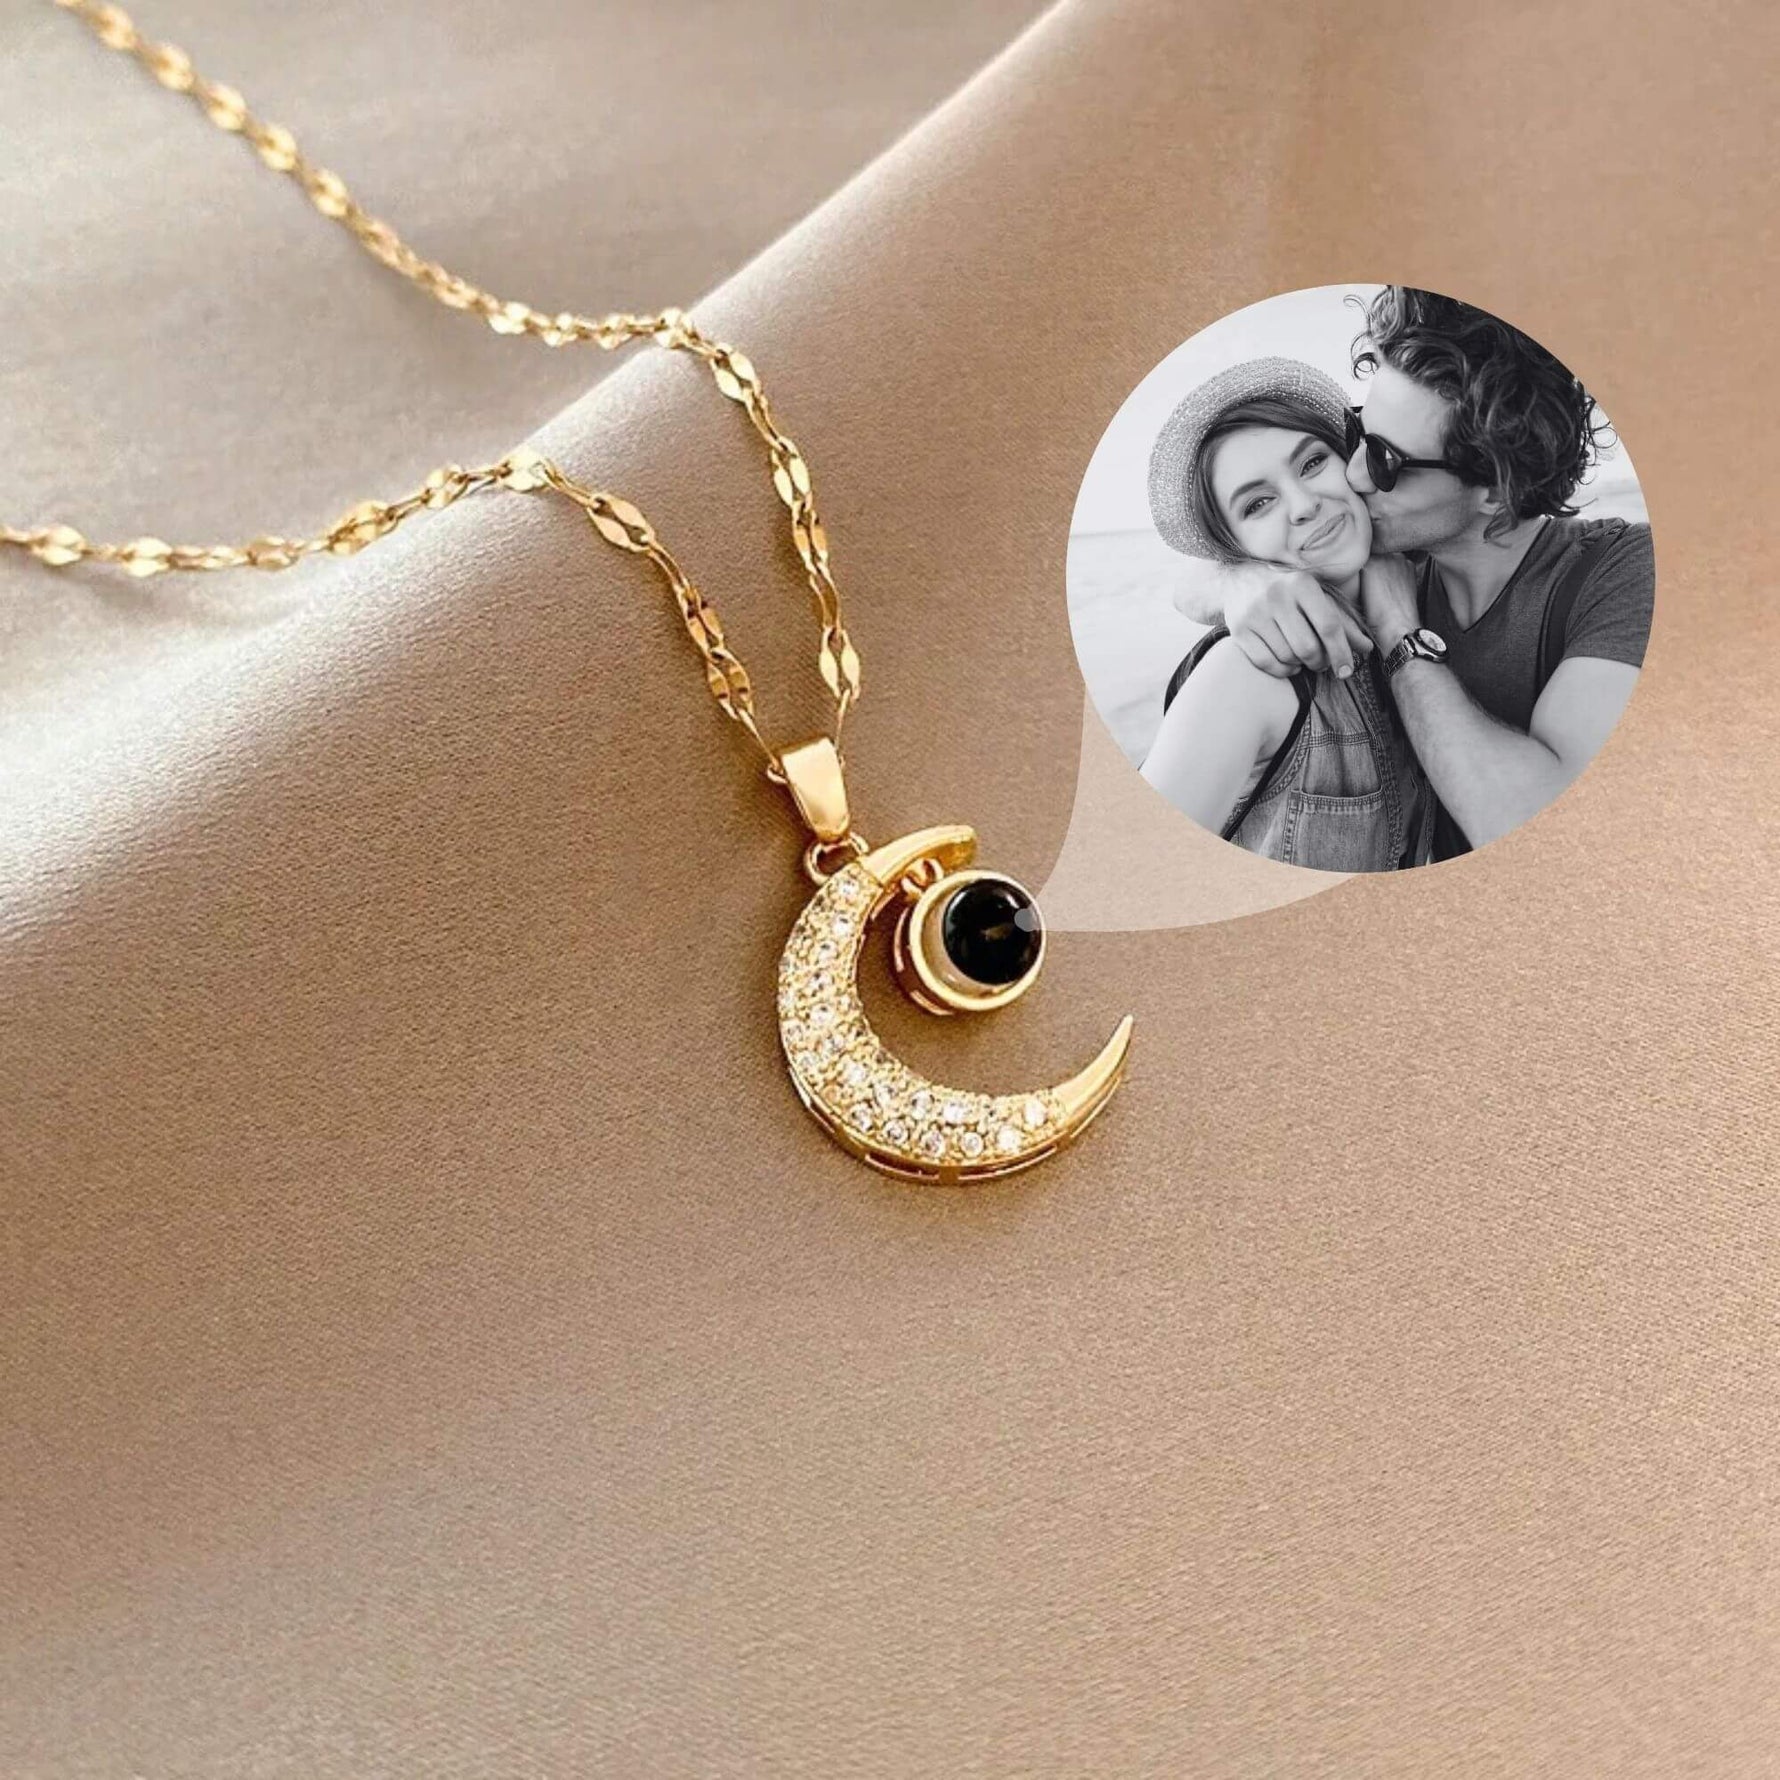
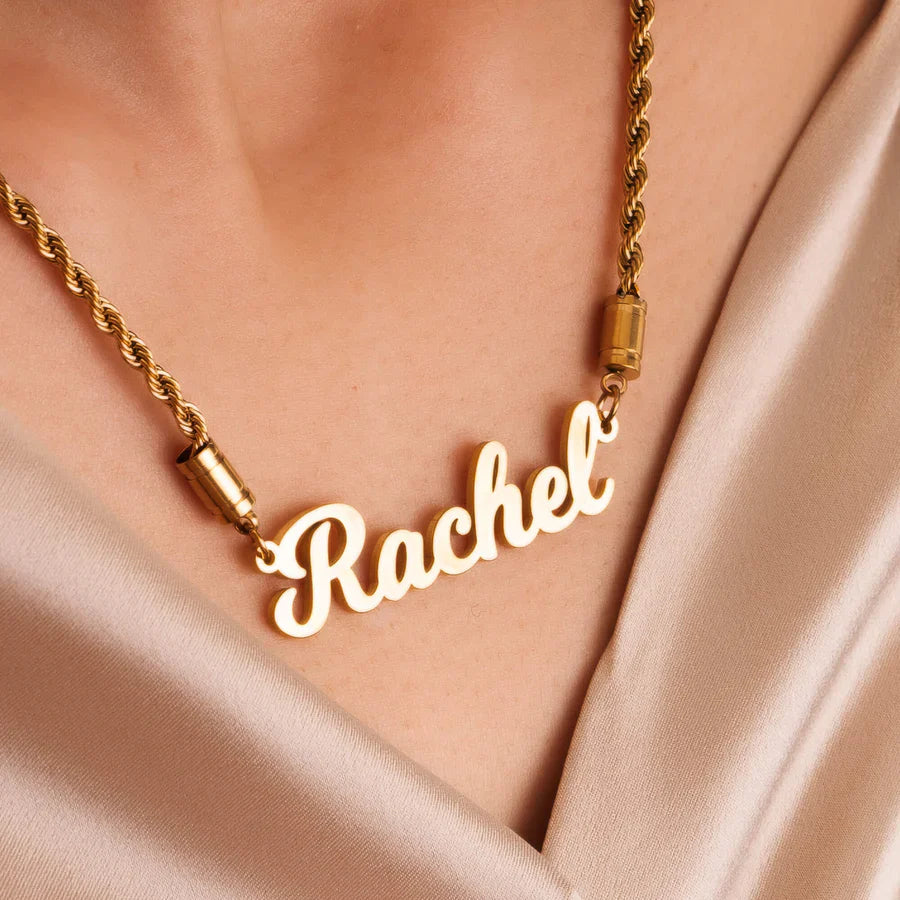
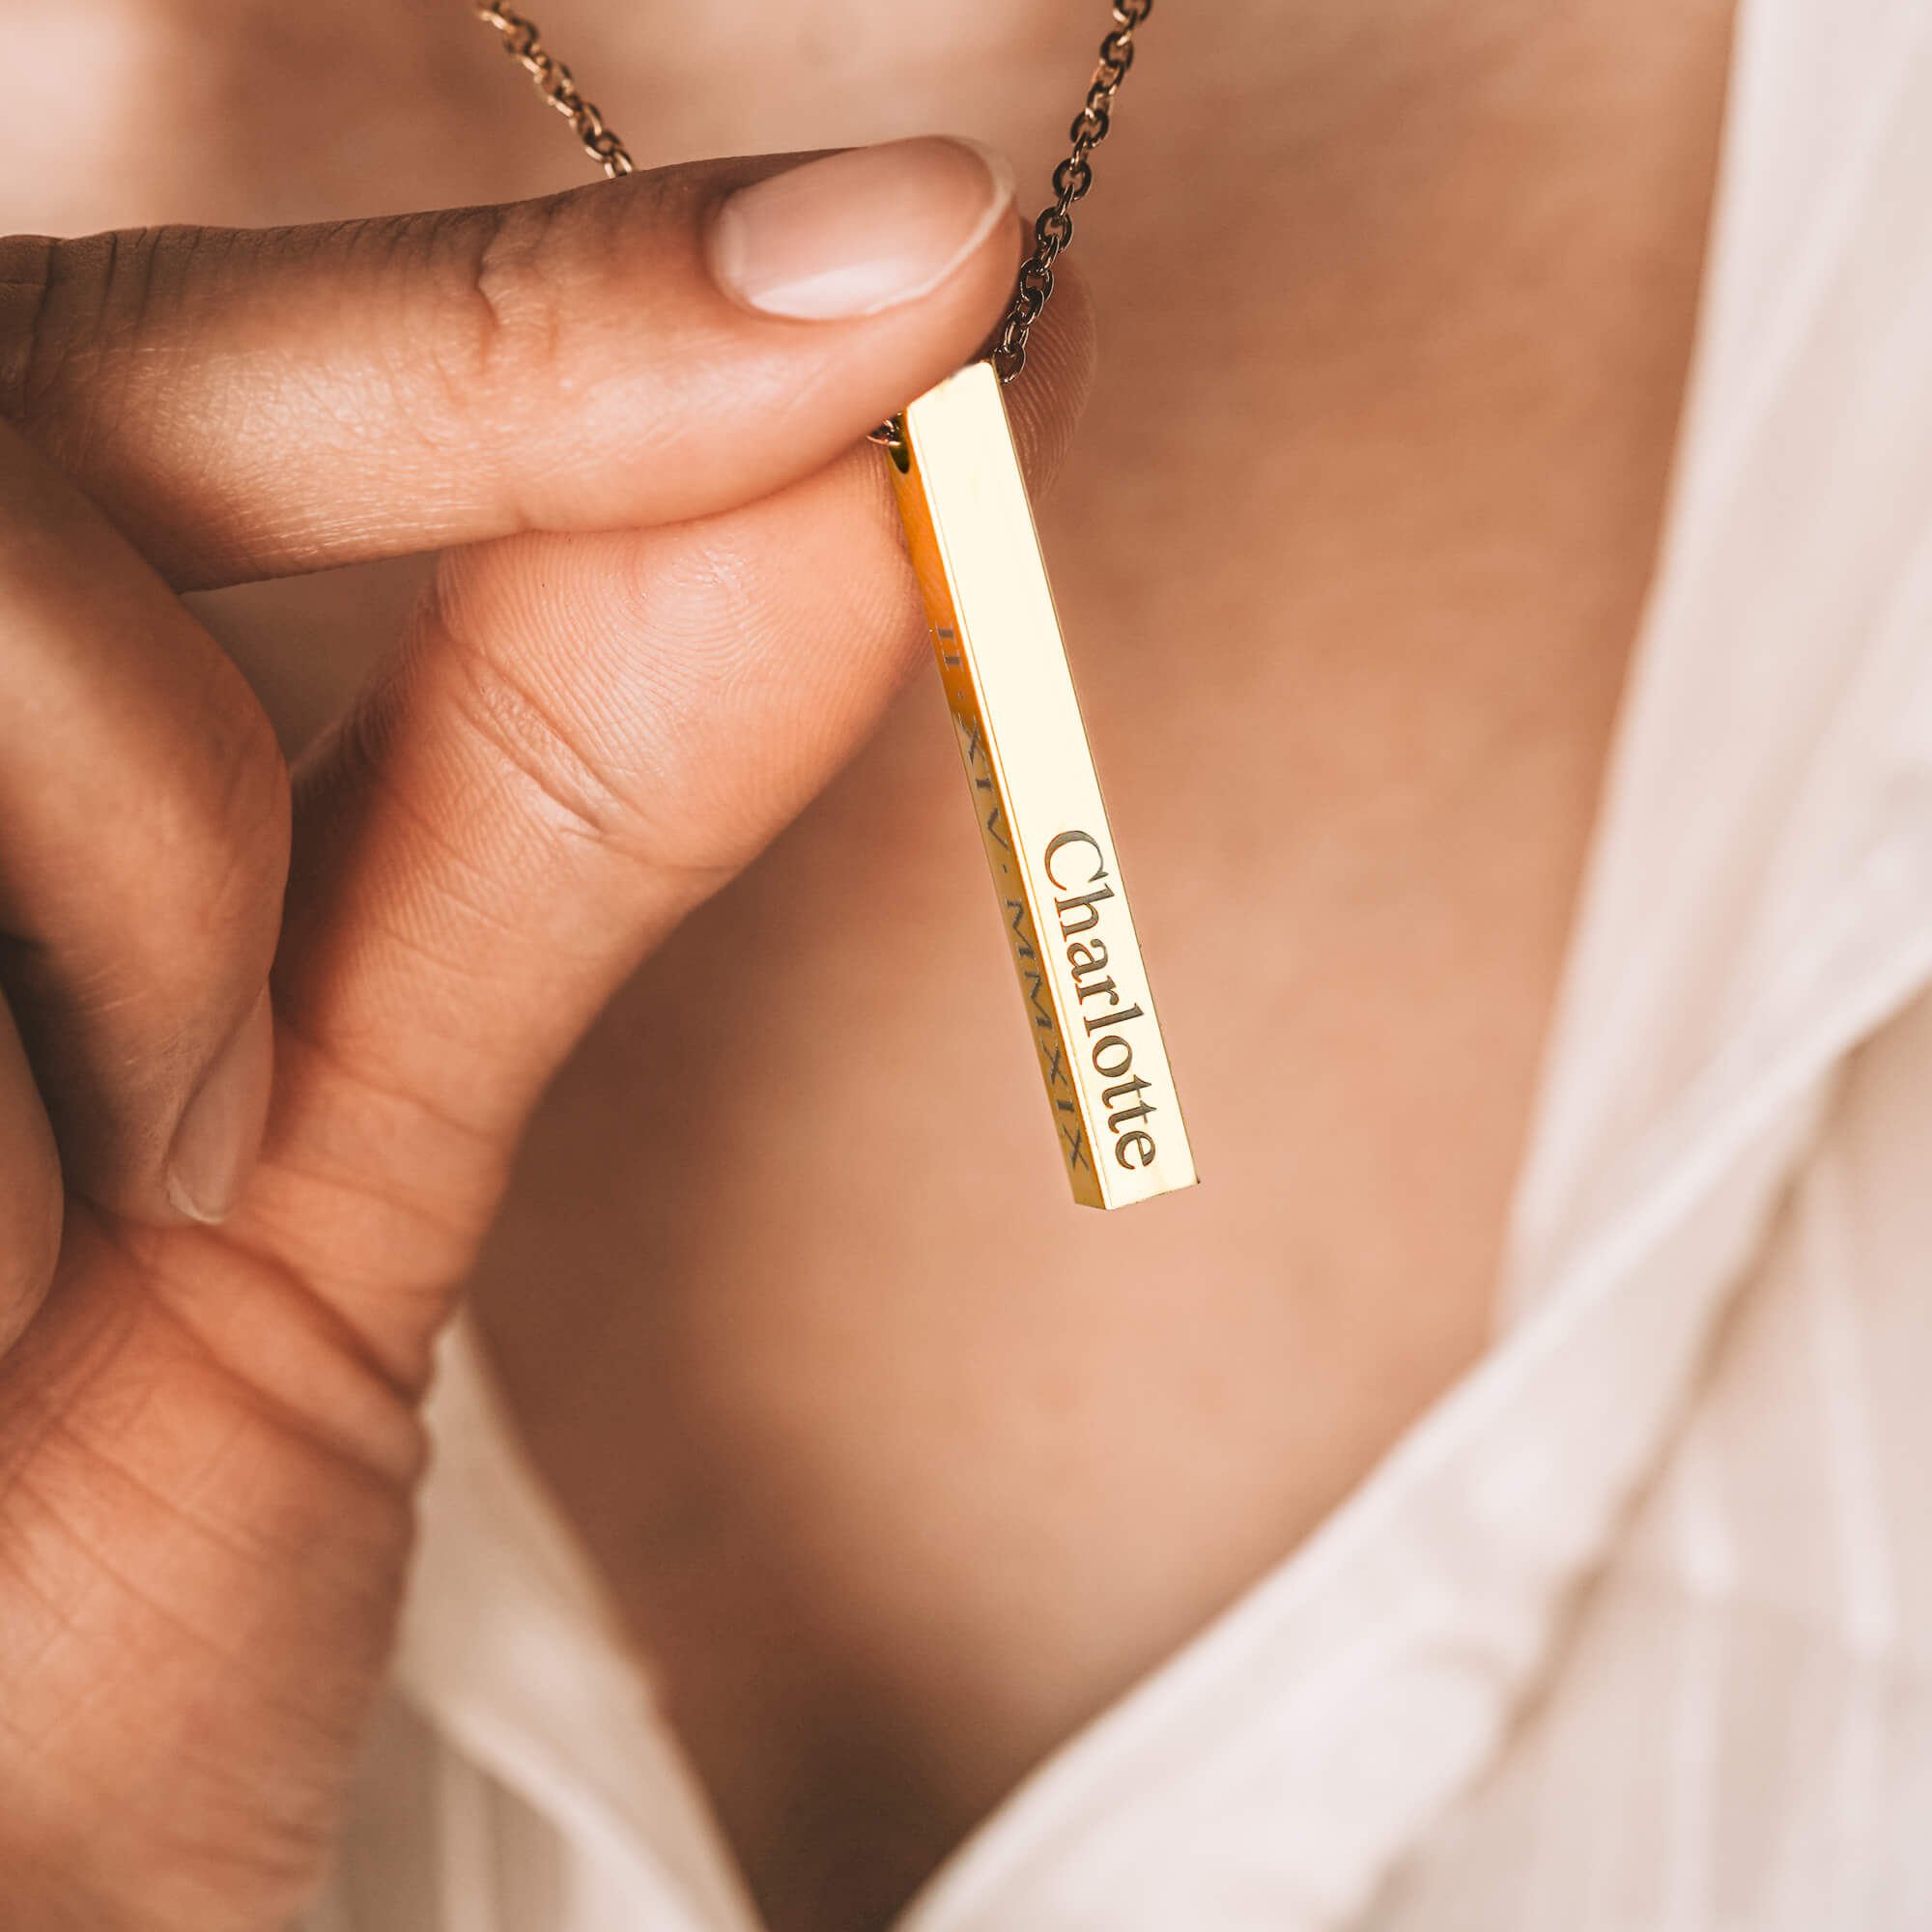
Once you have your baby’s fingerprint, those tiny lines can become part of a piece you’ll actually wear. Mighty Dainty offers fingerprint necklaces in different shapes and styles, all designed and crafted in California. Choose a shape you’d enjoy wearing regularly, then add the fingerprint you captured.
A baby fingerprint necklace or baby footprint necklace makes a personal gift for a new mom. It can mark her first Mother’s Day or be given as a push present after the baby arrives.
The print comes from a particular moment when those hands or feet were still very small. Turning it into a necklace gives that detail a place in everyday life.
Frequently Asked Questions (FAQs)
-
Can you make a fingerprint necklace from a newborn’s fingerprint?
Yes, if the impression shows enough distinct lines for the chosen design. You don’t need a perfect outline of the entire fingertip.
-
Can you make a fingerprint necklace from an old baby fingerprint?
Yes, if the original impression is still clear. Photograph or scan it at high resolution, keep the original intact, and check the image requirements before ordering.
-
Can you use a hospital baby footprint for jewelry?
A hospital baby footprint may work for personalized jewelry if the original has enough visible detail and the jewelry design accepts footprint images. Create a clear photo or scan of the hospital print while keeping the original record intact.
-
Can a partial baby fingerprint be used for a necklace?
Yes, a partial baby fingerprint may work for a necklace when it contains enough distinct detail to reproduce. The useful part of the fingerprint matters more than having a complete fingertip outline. Exact requirements can vary by jewelry design.
-
Can you make fingerprint jewelry from a photo of a fingerprint?
Yes. A clear photo of a fingerprint can be used for fingerprint jewelry when it preserves the visible detail in the original impression. Use even lighting, keep the camera in focus, and save the highest-quality version of the image for submission.