

A photo necklace may look straightforward, but turning a regular photograph into something that works at pendant size takes a few careful steps. If you’re wondering how photo necklaces are made, the process starts with preparing the image for the way the necklace will display it.
Mighty Dainty offers different kinds of photo necklaces, and the process varies between them. This guide looks at what happens to the photograph, how different necklace designs use it, and what affects the final result.
Quick answer: Photo necklaces are made by resizing and preparing a photograph for a small pendant. Depending on the design, the image may be printed and placed inside a locket, reproduced on the jewelry, or miniaturized beneath a projection lens. The finished piece is then personalized, assembled, and checked for proper image placement.
How Picture Necklaces Work
Ask “how are photo necklaces made?” and the answer changes with the way the pendant carries the photo. Some hold a printed picture, while others incorporate or reveal it through the jewelry itself.
- Traditional lockets hold a physical photograph. The picture is printed, cut to fit, and placed inside the pendant. Many designs also let you replace it later, so the photo remains separate from the jewelry.
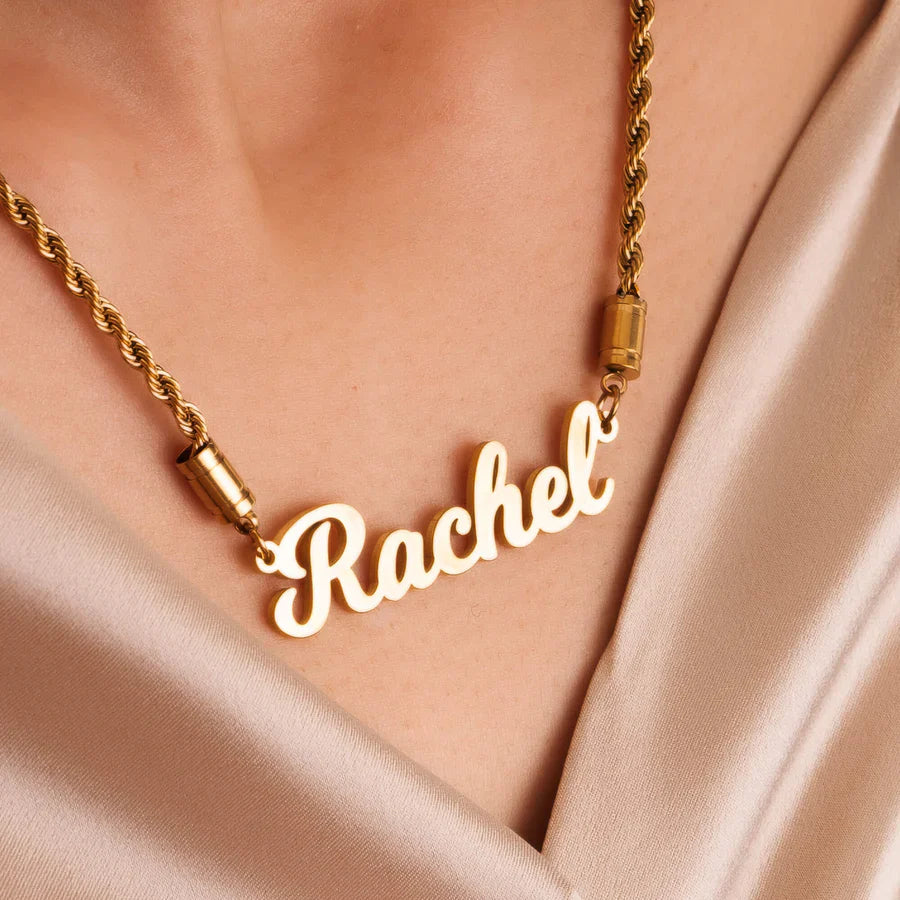
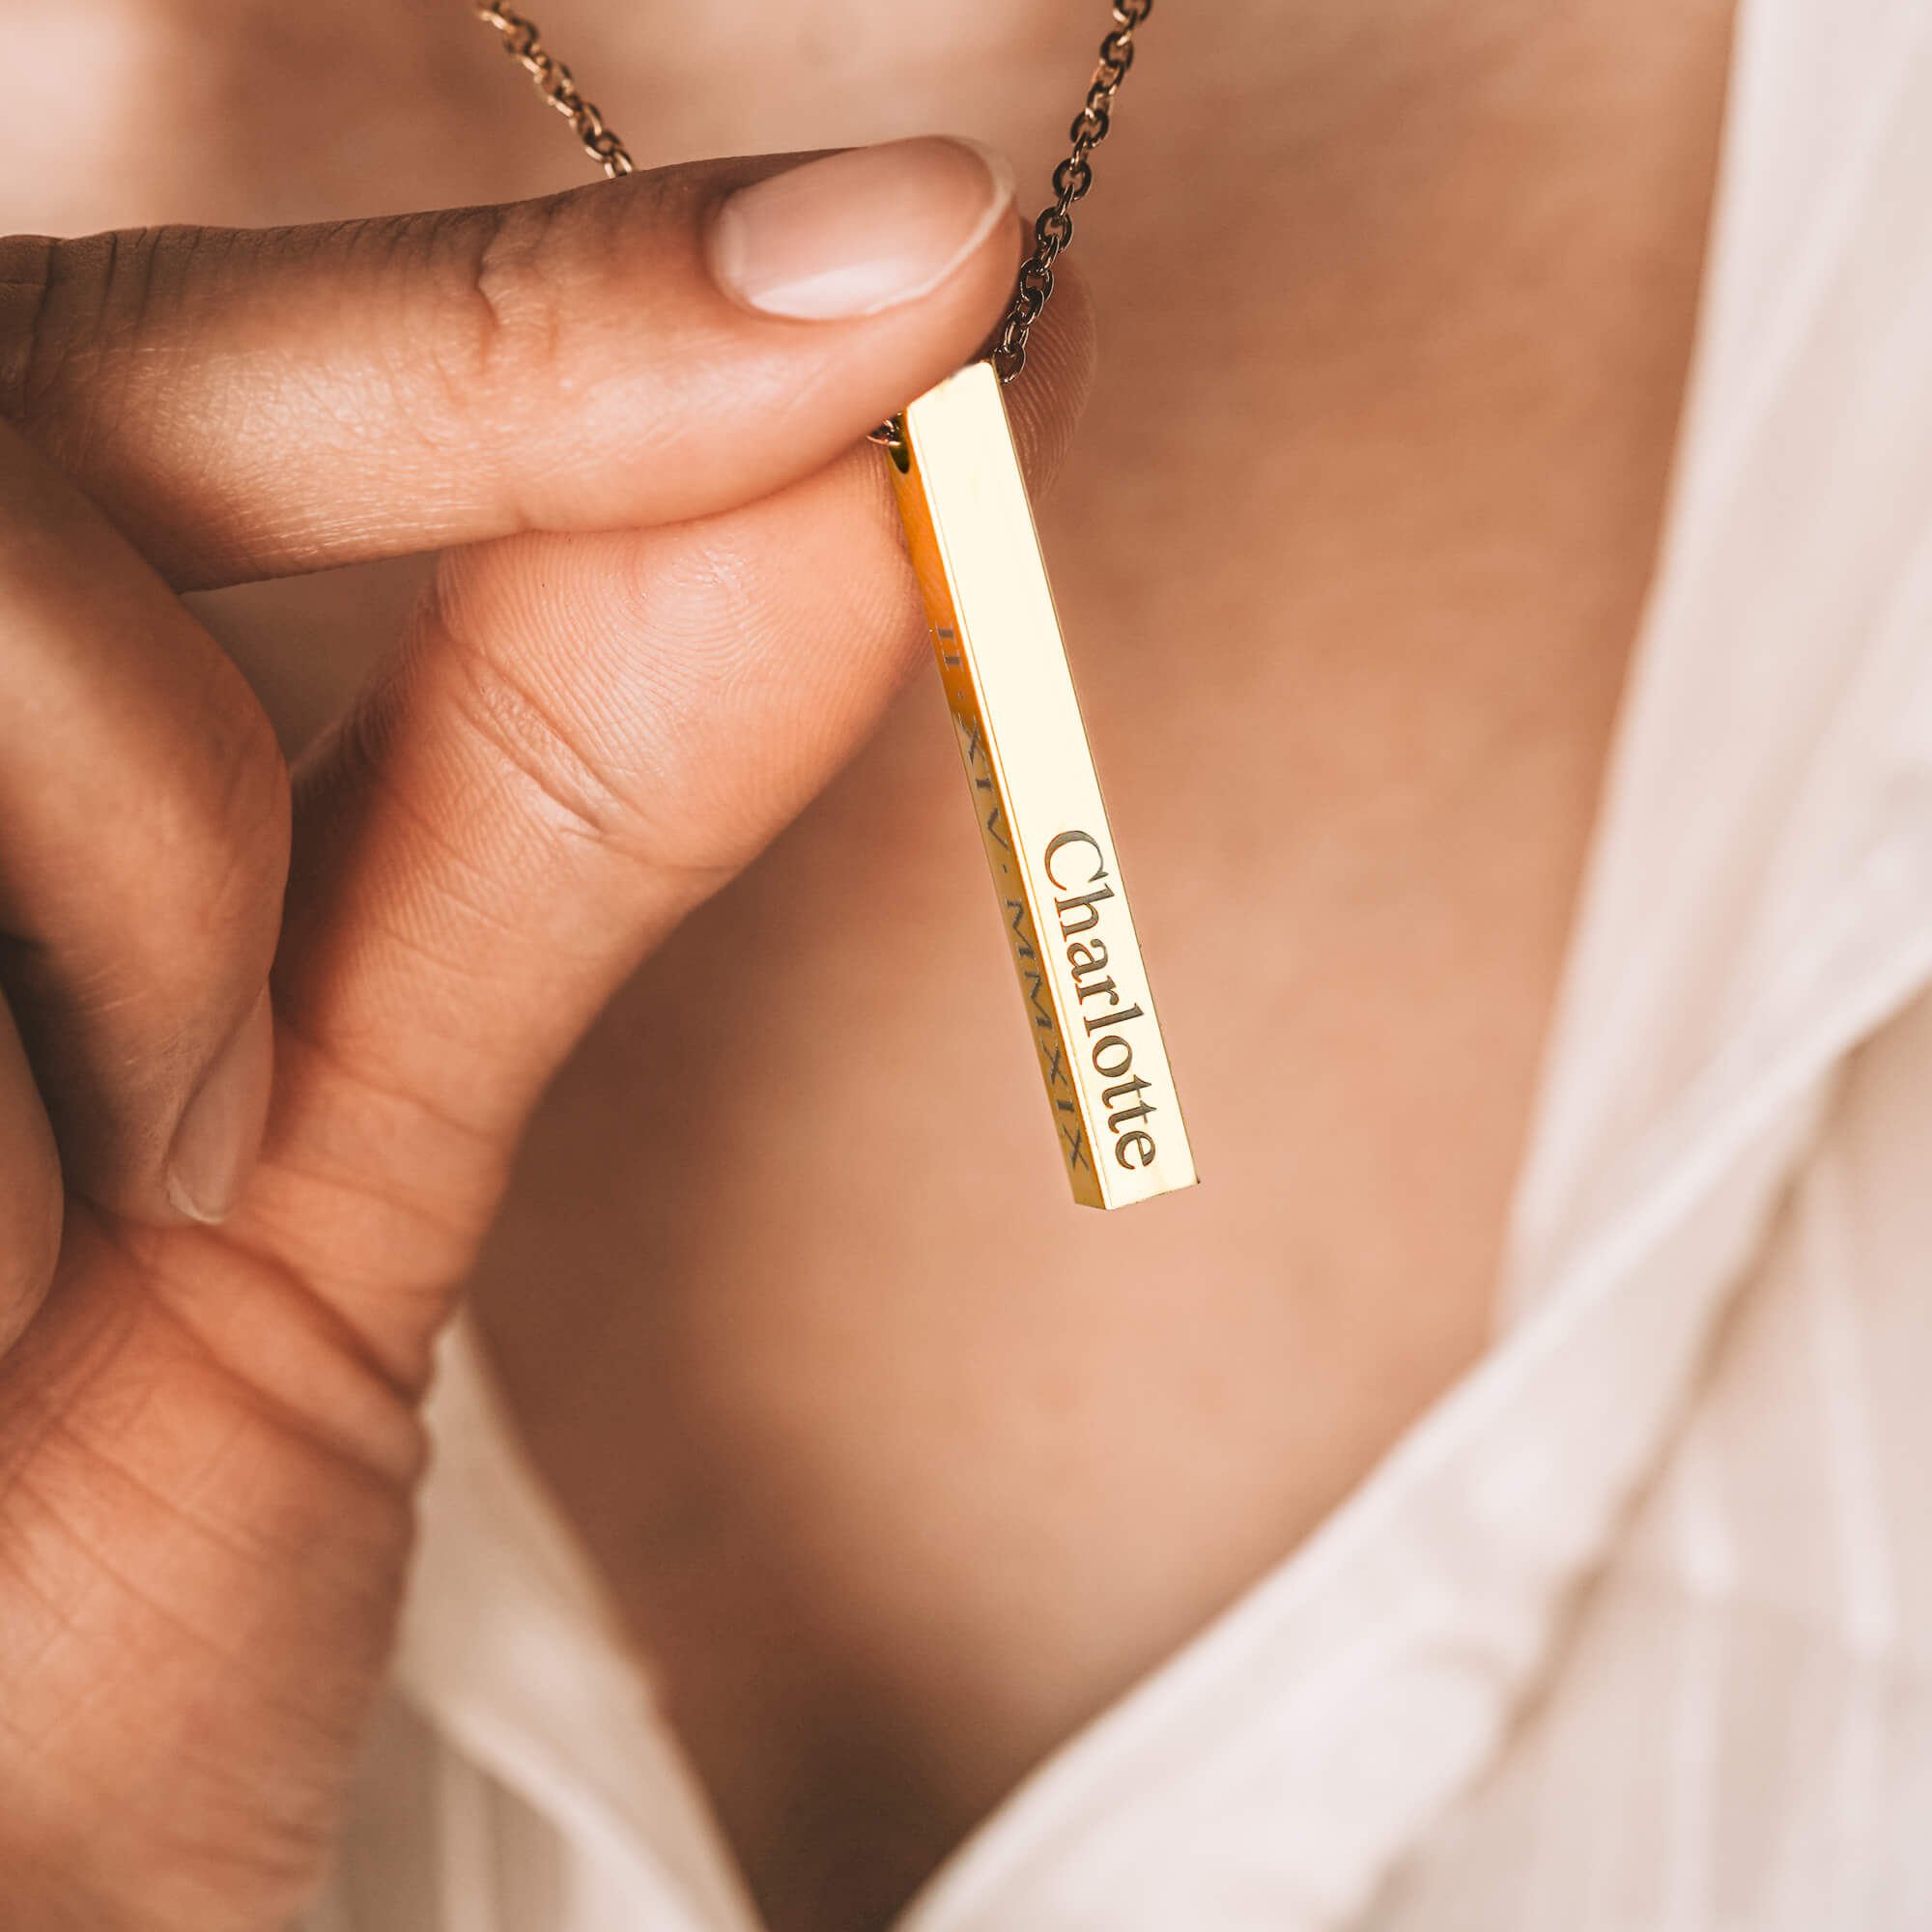
- Engraved photo necklaces reproduce the photograph on the piece. The image is prepared to suit the pendant’s shape and available space. It then becomes part of the personalized jewelry rather than a separate insert.
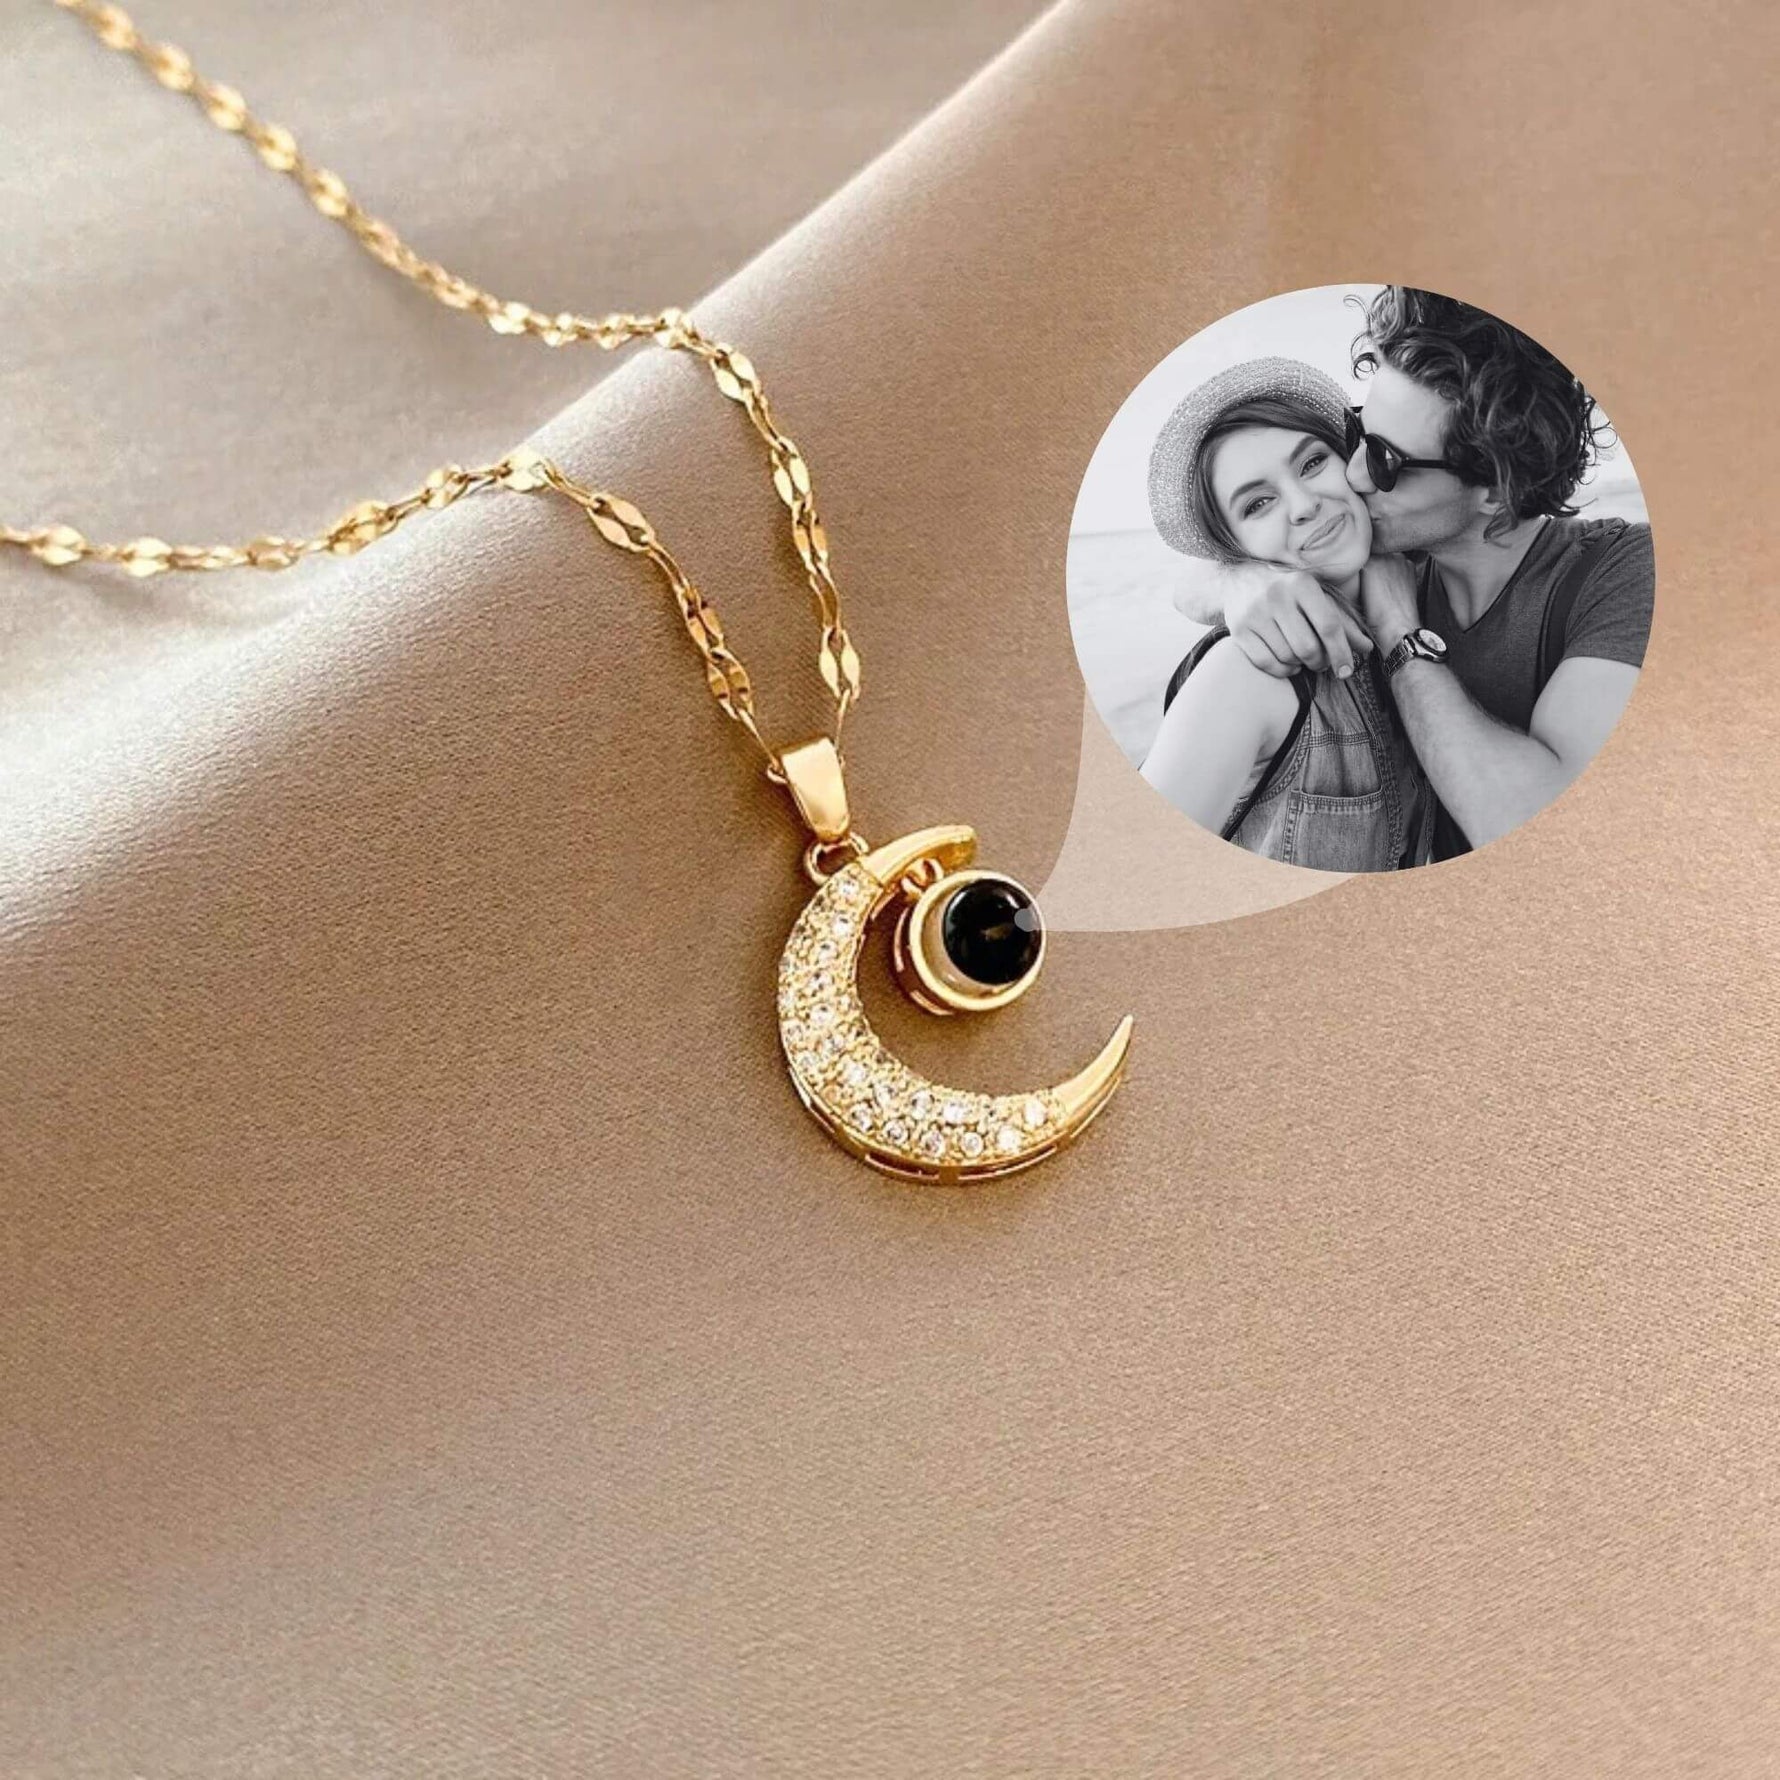
- Projection necklaces contain a miniature version of the photograph. A small lens lets you view the picture through the pendant. Light can also pass through the image and display it on a nearby surface.
One practical difference between engraved vs. printed photo necklaces is how you see the picture. A printed locket opens to reveal it, while an engraved design keeps it visible as part of the piece.
The Custom Photo Necklace Process: From Photo to Finished Piece

When people ask “how are photo necklaces made?”, much of the interesting work happens before the image reaches the jewelry. The photograph has to be cropped and prepared to fit the pendant’s engraving area.
Step 1: Fitting the Photo to the Pendant
First, the photograph is composed for the shape and proportions of the pendant. A round design uses the original frame differently from an oval or heart.
The crop also determines where the subject sits. This step keeps the important part of the photograph within the area available for engraving.
Step 2: Preparing the Image for Engraving
Next, the photograph is prepared so its details can translate clearly into an engraving. A digital photo uses color and tone, while an engraving reproduces those details on the jewelry’s surface.
Important features need enough definition to remain recognizable. The prepared image gives the engraving process a clear version of the photograph to reproduce.
Step 3: Engraving the Photo Onto the Jewelry
The prepared image is then engraved onto the designated area of the piece. This is the point where the photograph becomes part of the jewelry itself.
The engraving follows the composition established earlier, so the subject sits correctly within the pendant’s shape.
Step 4: Adding Other Personalization
Where the design allows, additional personalization can accompany the photograph. Depending on the necklace, that may include a name, date, or short message.
These details are placed according to the layout of the individual piece, giving the photo and text their own defined areas.
Step 5: Finishing and Checking the Necklace
After personalization and assembly, the necklace moves through its final finishing and inspection stages. The completed piece is checked to make sure the image is positioned correctly, the added text is accurate, and the pendant functions as intended.
How Photos Are Put in Lockets: A DIY Guide
Traditional lockets give a very literal answer to “how are photo necklaces made?” The photograph stays separate from the jewelry, so you size, print, trim, and fit it inside the pendant yourself. If you’re learning how to put a picture in a necklace, getting the size right first makes the rest much easier.
- Measure the photo area. Open the locket and measure the section that holds the picture. Use the inside dimensions, since these determine the size of your finished photo.
- Make a paper template. Trace the photo area onto thin paper, then cut out the shape. Test the template inside the locket before working with your photograph.
- Resize and print your photo. Use the template dimensions to resize the image before printing. Photo paper gives you a clean surface for cutting and fitting.
- Mark the shape on your photo. Place the template over the printed picture and trace lightly around the edge. You now have a clear guide for cutting.
- Trim a little at a time. Cut along the guide, then check the photo against the locket. Small adjustments help the edges follow the shape closely.
- Fit the photo inside. Place the trimmed picture into its compartment and check that it sits flat. Once it lines up properly, close the locket.
Among the different types of locket necklaces, insertable designs make changing the picture especially straightforward. Keep the paper template for the next photo, and you can skip measuring the locket again.
How Photo Projection Necklaces Are Made
Projection jewelry uses a different process: the photograph is miniaturized and paired with a small lens inside the pendant.
The reduced image sits within the pendant’s projection component. Because the picture is extremely small, the lens makes it visible when you look through the necklace.
Light gives you another way to see the picture. When it passes through the image and lens, the necklace can project the photograph onto a nearby surface.
Unlike a traditional locket, a projection pendant does not need to open to reveal the photograph. The image remains hidden inside the necklace until you view it through the lens or project it with light.
Why Some Photos Work Better for Photo Necklaces
How are photo necklaces made from images with very different levels of detail? The original photograph plays a big part, especially once it has to work at pendant size.
- Give the main subject enough space. Close-up portraits usually preserve recognizable features better than distant shots. The same applies to pets, where eyes, ears, markings, and face shape often do most of the recognition work.
- Look for clear separation from the background. A distinct background helps the subject keep a clear outline. Similar colors or tones can make edges harder to distinguish once the photograph becomes smaller.
- Choose a photo with balanced lighting. Clear lighting helps facial features, hair, clothing, and pet markings remain visible. Heavy shadows can cause nearby details to blend together.
- Think about how many people are in the frame. Each additional person gets a smaller share of the available space. Closer group shots generally give individual faces greater presence.
- Allow some room around the subject. Extra space gives the photograph flexibility when it needs to suit a round, oval, or heart-shaped pendant. A tightly cropped original gives you fewer options around the edges.
The best source photo makes its main subject easy to find at a glance. If your eye goes straight to the person or pet now, that’s a useful place to start.
Turn a Favorite Photo Into a Necklace With Mighty Dainty

Understanding how photo necklaces are made can help you choose a design that works well with your picture. Mighty Dainty’s collection includes round, heart, oval, book, shell, floral, celestial, and other photo necklace designs, along with photo projection pieces.
Each shape gives the photograph a different frame, so think about how your subject will sit within it. A close portrait may suit an oval or heart, while a photo with more surrounding space can work well in a round design.
Designed and crafted in California, Mighty Dainty’s photo necklaces can hold photographs of family members, partners, friends, pets, and meaningful moments. Start with a clear photo, then choose the pendant shape and display method that suit the image best.
Frequently Asked Questions (FAQs)
-
Can you put any photo in a photo necklace?
Most personal photos can be used for a photo necklace, including portraits, family pictures, pet photos, and older photographs. The image still needs to suit the requirements of the necklace and its personalization method. Check the specific product’s photo guidelines before ordering.
-
Can you use an old photo for a photo necklace?
Yes, you can use an old photo for a photo necklace if you have a clear digital copy. Scanning a physical photograph at a good resolution can help preserve facial features and other details. Older photos with visible damage may benefit from digital restoration first.
-
Can you change the picture in a photo necklace?
It depends on the type of photo necklace. Traditional insertable lockets often let you remove and replace the printed picture. Engraved photo necklaces use the selected image as part of the jewelry, so the picture stays with that piece.
-
How long do photo necklaces last?
A photo necklace can last for years with suitable care, although its lifespan depends on its materials, photo method, and frequency of wear. Engraved images and physical photo inserts also respond differently to everyday use. Follow the care instructions provided for your specific necklace.
-
Can you put two pictures in a photo locket?
Yes, some photo lockets can hold two pictures, usually with one on each interior side. Other designs have space for a single image. Check the locket’s interior layout and photo capacity before preparing your pictures, since the available space varies by design.